Those of you who follow this blog know that my husband and I moved heaven and earth to create a custom hitch carrier for our Yeti cooler (blog posts
Part 1,
Part 2, and
Part 3) so that we could carry frozen food on our extended family vacations. In 2014, I fell in love with this idea, because it allowed me to make most of the food at home, freeze it, transport it 3,000 miles, and be thusly freed from the task of being chief cook and bottle-washer for a house full of people. By this strategy, I could have more of a vacation myself, instead of spending a lot of my time slaving over a hot cottage stove, making meals from scratch.
However, we noticed significant performance differences between our inaugural 2014 trip with the Yeti, and the repeat performance in 2016, for two reasons.
 |
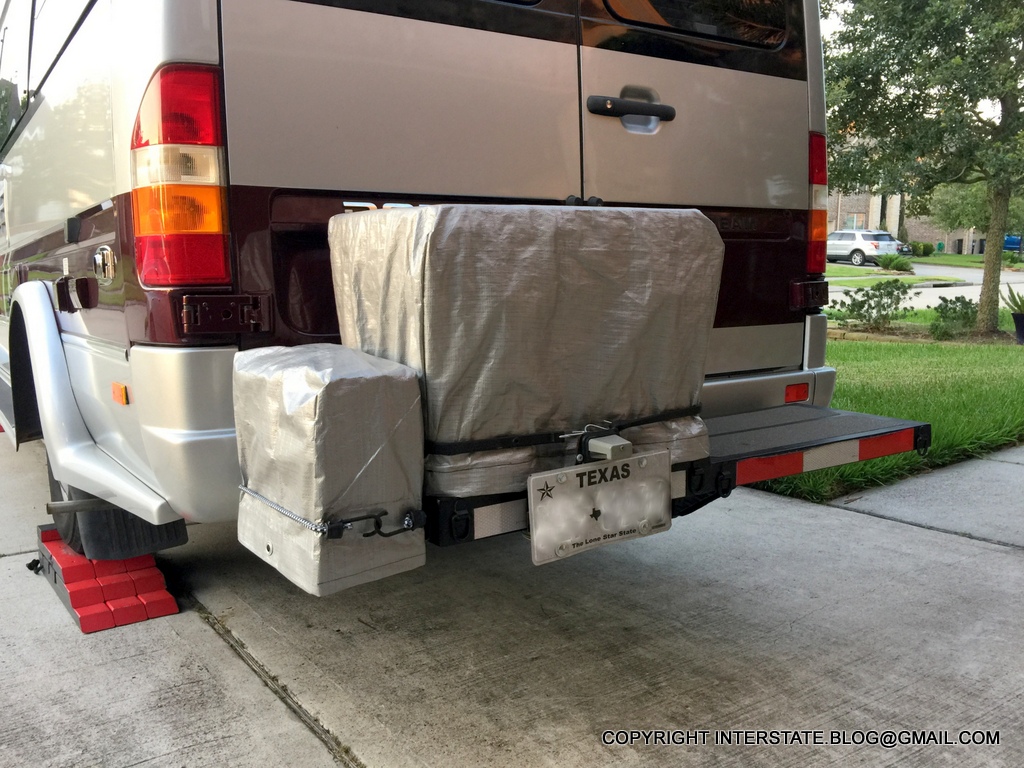
| Number one, in 2014, we took the Yeti 6,000 miles in our floggin' minivan, before we purchased our Airstream Interstate. The Yeti was kept within the air conditioned space of the vehicle, and thus was at least 20 degrees below the worst heat of the day for the entire trip. |
Number two, our 2014 trip was characterized by much cooler weather overall compared to 2016, so there was an antagonistic impact on performance.
 |
| Not only did we shift the Yeti to the outside of the vehicle where temperatures were significantly hotter, the weather itself was hotter overall - up to 100 degrees. Even with a closed-cell foam augmentation on the lid and this reflective tarp cover, the cooler still heated up significantly more than it had in 2014. |
It still kept the food from spoiling, but it was a pain in the ass to have to keep attending to the diminishing ice load throughout that trip. Furthermore, once we crossed the Canadian border, ice was extremely expensive, if it could be located at all. A replenishment that might cost us $3 in the U.S. could be $15 in New Brunswick.
For these reasons, I decided to concoct a different scheme for our 2017 trip. The best inventions relate back to some sort of real life precedent, and this was no exception. We are in high summer in Houston right now, and there is no shortage of howling out of my husband because I like to keep the internal house temperature at 77 F, which is too hot for him. And why is that temperature comfortable for me, but a burden for him? Because my surface area to volume ratio is much larger than his.
And so it was with the ice. I was having excessive melt problems because cube ice has too much surface area for optimal performance during heat wave conditions.
So how to reduce that surface area? Rather than simply adding super-cooled ice cubes to a super-cooled load of food, for this upcoming trip, I decided to try freezing the food in solid blocks of ice. This required that I develop both strategy and apparatus, so here's the story of how that went.
 |
| Here is our culprit, the inside of the Yeti cooler, looking down from above with toes for scale. |
Based on the configuration of our
Yeti 50, I decided that the most practical, and not to mention easiest, approach would be to create two solid blocks of food-encapsulating ice, side by side. The cooler is bilaterally symmetrical, so I could create one mold, freeze a batch of food in it, take it out, and simply freeze the second batch, flipping it 180 degrees to fit the other side. Two pieces would be easier to handle than one massive, unwieldy block. Plus, I'd be able to thaw one at a time, reserving half the food for later consumption.
I started with a paper tracing of the internal shape, because the cooler sides are flared rather than being at right angles to the base, as you can see. From that, I proceeded to craft the shape out of cardboard.
 |
| I used remnants of the cardboard shipping crate that our new Vitrifrigo refrigerator came in, so it was double-thickness cardboard - much stronger than average. |
I taped the crap out of it, for a reason that will become obvious in a second.
 |
| Around and around and around we go. |
We kinda figured that the final mold would need to be made out of thin plywood or perhaps even sheet metal, but I wanted to run tests on this cardboard prototype, so...
 |
| There it is lined with a kitchen trash bag and filled with water in our garage utility sink, which is embarrassingly filthy, obviously. |
 |
| And there's the kitchen bag tied off with the water in it, so that I can carry the thing without sloshing (which would wet the cardboard, which would then disintegrate rather catastrophically, LOL!). After I tied the bag, I put clear tape straps across the top to keep it from bowing. |
The damned thing was heavy.
 |
| About 30 pounds. The main risk with the cardboard prototype is that the bottom would fall out if it were not well-supported. |
I left it in the utility sink overnight to confirm that it would not bow excessively, because if it did, then the frozen block would not pack into the cooler.
Once it passed that test, it went into our upright freezer for the next stage of this proof-of-concept.
 |
| And of course, in this freezer, you can see a lot of the home-made meals that I intend to take with us. We have over 150 different Pyrex storage containers because much of our diet is freezer-based (a natural off-shoot from home gardening, where the entire harvest has to be cooked and put up at once). I would be liberating the frozen contents from the Pyrex and transferring each one to freezer-grade plastic wrap, which saves a lot of space and weight. But you can see that, with two of these frozen blocks, I could transport a lot of that food. |
OK, now here's where it starts to get funny.
 |
| Sooo... it appears to be at least partially frozen the next morning... |
...but all was not well in paradise.
 |
| Oh, sh!t - it's leaking on the floor! LOL |
Aaaaand the foreseeable demise:
 |
| Note to self: Don't try to freeze 30-lb monolithic blocks of ice all at one time. |
 |
| Aaaand it just keeps getting better. It started to leak before I got it out of the cardboard, thus blowing out the cardboard. |
This little experiment taught us what should have been obvious from the outset:
- We need to pre-chill the surrounding water before placing the works in the freezer.
- We need to freeze in lifts, rather than all at once.
- We need a mold that won't dissolve.
- We need some means of wrangling the solid blocks of ice once they are formed.
- It also occurred to us that we had to minimize floating of the individual food packages that are submerged in the water before it turns into a block of ice.
On that third point, my husband constructed this out of thin plywood:
 |
| Well that looks much better. |
Regarding that fourth point, I decided to embed some webbing sections that I had inherited via a free grab bag of strapping scraps from the vendor
Strapworks of Eugene Oregon.
 |
| Intending no disrespect, I decided to name my two blocks of ice the gay block and the straight block. Well, don't blame me - Strapworks had sent me this nice scrap of rainbow webbing, plus some blue and some pink. What's a person to do?? I also cataloged which foods were going in the gay and straight blocks respectively so that I'd have that record two weeks down the road when it was time to take the food back out again. |
I put the rainbow strap at the very bottom as a lifting aid (it would be frozen into the ice once the block formed), and I also began working with this device for the first time:
 |
| A low-ended Foodsaver FM-2000 system plus two 50-foot rolls of bags (large and small) for less than a hundred bucks all in. Sometimes it's really wonderful that Amazon Prime delivers on Sundays. |
As you can deduce from the photo above and the previous shot of the freezer, we freeze in Pyrex because of the convenience, but there's no room for all that glass in the Interstate, whether it be the Yeti cooler or the internal refrigerator. So I have to remove the food from the Pyrex and transfer it to plastic, either freezer bags (as in the past), or now this. All it takes to pop those frozen masses out is to melt a micron-thick layer by immersing the Pyrex in some warm water. It then frees from the glass, and this can happen next:
 |
| Vacuum power, baby! |
I hastily put my first lift (layer) of food in the form's gay block, dumped in a slurry of icewater, and slammed shut the freezer door. I did this so quickly with the intention of minimizing melt that I never got a "before" pic. But here are the "after" pics, the money shots, after the second layer was added and frozen a day later.
 |
| Looks solid enough. Now let's take it out. |
 |
| Next note to self: Don't remove each block from its trash bag unless absolutely necessary for fit purposes. It's just too messy. |
 |
| Now for the fit test. |
 |
| And you can see that the next block, the straight block, will fit nicely beside this gay block. A layer of cube ice on top, and we'll be ready for the road. |
Now that I've gone to all this monolithic trouble, will this strategy actually work? Will those 30-lb blocks extend my boondocking range? For the answer to that, you'll need to check back.