(1) This post described some of the required lower cabinetry modification, and
(2) This post described upper cabinetry expansion, which was done in part to accommodate the new electrical control panel.
I've also interspersed anecdotal progress reports through various trip descriptions, but I've never pulled together any comprehensive description of the entire system in terms of either its components or its operation.
There's a reason for that - it's an enormous job to describe an incredibly intricate, one-of-a-kind long-term project. As of this blog post, the chatter on the project's corresponding Air Forums thread, which my husband named "My Interstate Lithium Battery Adventures" stretches from its inception in June of 2016 though November of 2017 and includes over 450 comments, LOL.
The enormity of the job raises questions in the minds of people who are less familiar with lithium systems, mainly, why even do it? Why go to all this kind of trouble and expense in the first place?
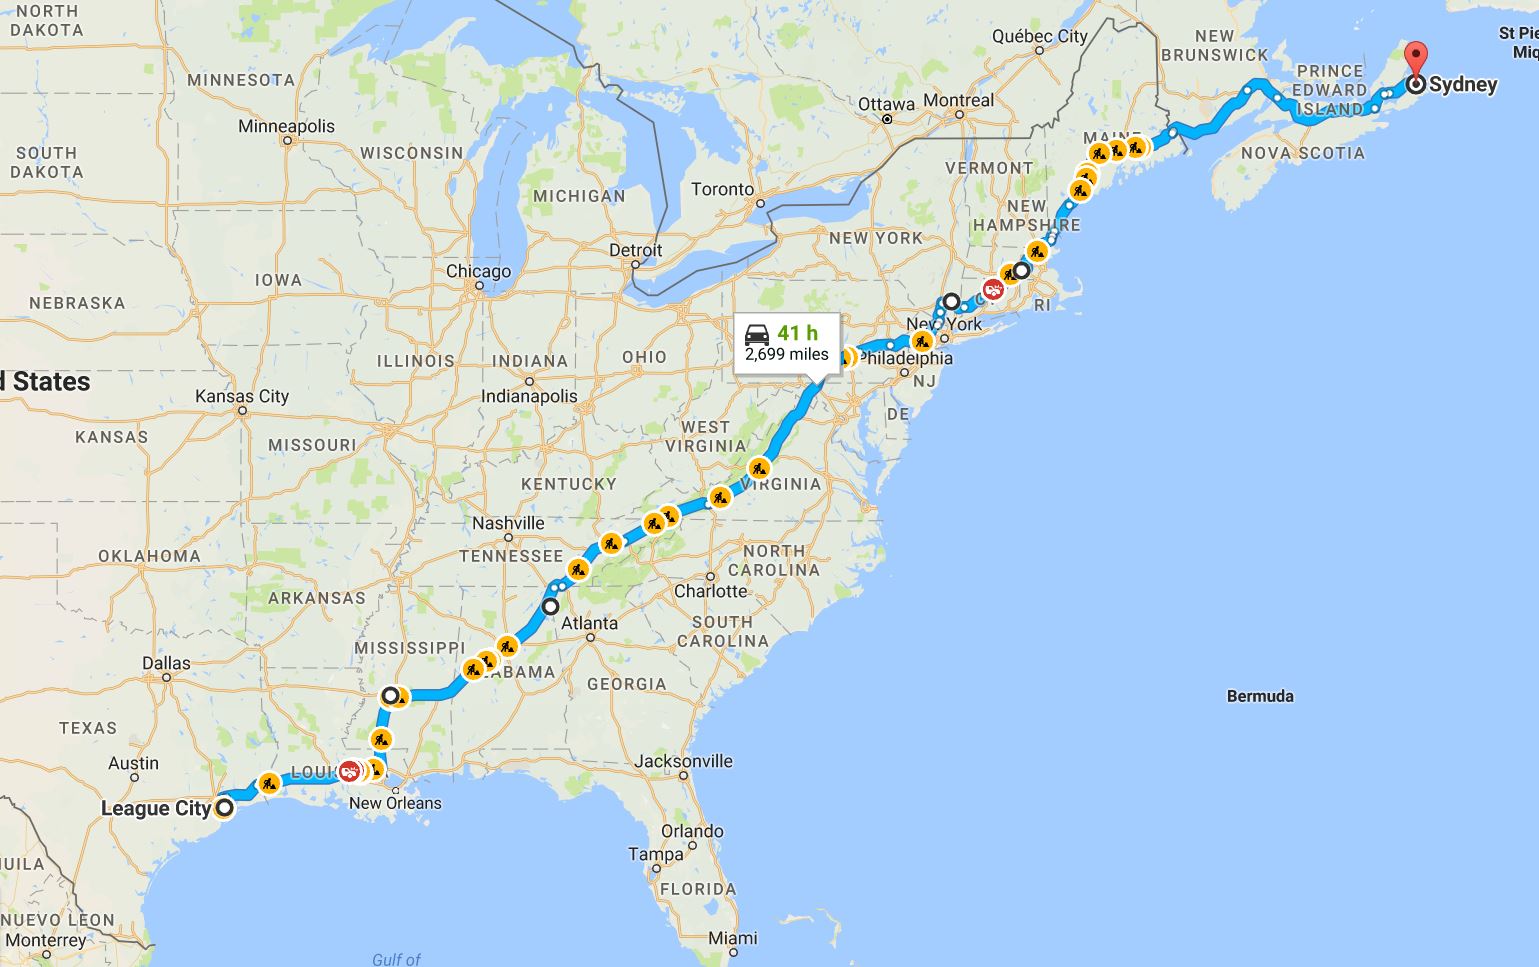 |
| Route map from my September 2047 blog post titled "Top ten lessons from an off-grid month on the road". We didn't hook up to campground utilities during any of that time because we no longer have a need. |
Anyway, first, a few necessary disclaimers. Our general disclaimer applies - if you work on your van or RV without knowing what you are doing, you could get yourself killed -- and that is especially true when working with a dangerous commodity such as lithium battery cells, which can cause electrical fires if not managed safely.
In terms of a more specific disclaimer, if you imagine that this blog post series will teach you how to engineer a lithium battery system, here's what I have to say to that:
 |
| In other words, a big fat NO. Don't even think about it. |
Rather, my point is to tell you how we did it, moreso than the nitty gritty of what we did. Vans are tricky - the amount of space available for any given upgrade is extremely limited. I can't tell you how many times I've seen an aftermarket lithium job presented on social media only to think to myself "Congratulations owners - you now have extended boondocking capability courtesy of the lithium system which, by the way, happens to have consumed every cubic inch of space that you otherwise would have had for storing your boondocking supplies, duh."
But of course there's a good reason why even the best aftermarket installers tend to gobble up available storage space indiscriminately - it happens because the alternative is to have the labor costs mushroom out of control. Every electrical component that has to be custom-fit to a van crevice here or there is going to require re-wiring, extra cabinetry work, etc. So the installers tend to take the path of least resistance, which then causes secondary logistical problems for van owners.
My husband and I got around that problem by taking our time and meticulously splicing every electrical component into its own hand-picked individual void space, all of which were existing and not otherwise earmarked for other purposes. We probably expended at least five times the average installation labor in the process. But hey, it's DIY, so the only thing we spent was time, and it's a hobby, so we don't consider that to be a loss.
This first of the four posts presents the consolidated general lay-out that we achieved. The three posts that will follow (and I'll back-link them here after publication) will break down the process to describe the construction of the AC System, the Charging/Inverter System, and the DC System respectively.
First, a brief review of where we started oh-so long ago.
 |
| Gross. |
Despite the obvious mess, this area proved to be a gold mine of recoverable space, because we realized that the two bulkiest components of a lithium system (the cells themselves and the electrical inverter) could be made to fit here without triggering exterior cabinetry modifications. The battery cells could be regrouped and re-strapped into an assemblage that would conform to this shape, and the inverter plus certain associated components could be installed on a shelf suspended immediately above the lithium cells.
Furthermore, because we were working under a closet and adjacent to the street-side overhead cabinetry bulkhead, we realized that we could run all wires under the couch, to the top of the closet, and through to the bulkhead beside the closet without needing to add any external cabinetry elements. The spaces were contiguous in other words.
Here is what the resulting lay-out looked like, after hundreds of hours of research and work:
 |
| Tap to expand for clarity, as Blogger still downsamples embedded images. Diagram updated 20180207. |
 |
| Tap image to expand for clarity. Diagram updated 20180207. |
How much do I have to pay to get your and your hubby to do mine? Seriously, I need solar in my Interstate but don't have the time to figure this out. Any suggestions?
ReplyDelete