Some
Airstream Interstate owners want to take a "toad" with them - a towed vehicle.
 |
Not for me, no thank you, no siree Bob. Although I do like the color, which fits with my blog post palette, as you will see.
Image screengrabbed from this RV Love page. |
With an eye to keeping our lives (1) simple, (2) easy, and (3) physically fit, we've opted for bicycles to serve local "run-about" travel needs, rather than a toad. But because our rear hitch receiver is dedicated to
our custom cooler carrier, I was basically left with no choice but to develop interior storage for one of our bikes (mine) - in a Sprinter van conversion that is not an extended model, go figure! Here's how I did it.
Making a long story short, I researched and chose a folding bike, and I achieved storage for it by making two minor modifications to our rig's closet:
- The bike in its OEM configuration fit just fine into the closet with no modifications. But because I swapped out the original bicycle seat for one designed for female hips, I had to craft a shim to angle the bike backwards so that the door would clear the wider seat and latch firmly when closed. That's how close this folding bike came to fitting in this closet - even a tiny modification to the seat pushed it out of tolerances.
- I also had to recapture the remaining usable space above the bike, by creating a storage shelf. No space in an Interstate can go to waste.
Here's how this little project unfolded.
 |
| As is the case with every project we do, the item to be added is first roughed out of cardboard. You'll see that I had removed the closet floor and exposed the electrical inverter which, in turn, is suspended over the lithium batteries and other electrical appurtenances. That's because I used the existing floor piece as a starter template for my shelf mock-up. |
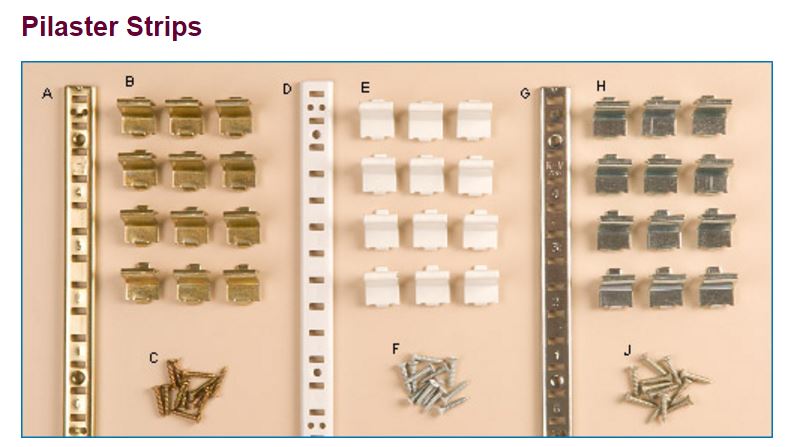
I chose ordinary
light-duty inset shelf hardware of the type that's available in any big box hardware store. These down rods are sometimes referred to as pilaster strips - don't ask me why.
Weird name or not, this is a deceptively adaptable and versatile product, as you will see.
 |
It's always humorous trying to do any form of carpentry in the Interstate because there's no such thing as level or plumb, but you can make a good approximation to square by measuring off existing features.
In this case, I ran the pilaster strips down from the plane of the closet ceiling, because we have to retain the capacity to pull up the floor without obstructions, in order to get at the electrical workings underneath. Each pilaster strip is sold as a 6-foot length, so I cut two of them in half to create four strips at 3 feet each. That green tape you see in the background is how I accomplished this as a one-woman job, by taping each strip to the closet wall, and then screwing it into place once I'd verified square (measure twice, screw once). That's the tape left over from the masking step in last week's reflective roof coating project. |
I cannot stress the importance of a final-tweak cardboard mock-up for this kind of project. Measurements alone will not suffice. The closet walls were not exactly parallel and our rear wall in particular was way off square.
 |
| The cardboard template must prove to fit every portion of the installation before the real deal can be cut out of plywood. |
My husband assisted me with power-sawing this half-inch furniture-grade plywood shelf because we do not yet own a table saw. About half of our wood cutting tasks becme a two-person job because of that. This shelf was cut using both a miter saw and a jig saw.
I won't belabor the construction and finishing details - suffice it to say that
the key is to make the shelf loose enough for easy removal. With the way that this closet is framed, there is no need to fix the shelf in place - the door frame alone will hold it from sliding out of position (look at the lower left hand corner of this photo below). I can either tilt it up with one hand to access and remove the table legs or hiking poles, or I can just as easily remove the shelf altogether if I'm not taking the bike on a particular trip and maybe I need the full closet length to hang clothes there instead.
 |
| Fortunately I had leftover oil-based enamel paint from our overhead cabinet expansion project earlier this year. I had just enough left to finish this shelf and the shim for my bike. |
From that photo above, you can start to get the idea that the shelf's height-limiting factor is not the bicycle (photo left, below) but rather the table legs and hiking poles that are stored upright in lengths of cut PVC sewer pipe (photo right, below). More on that in a minute.
Now, about that versatile pilaster stuff.
 |
| I ran both gear ties and lengths of paracord through the clips in order to stabilize both the bicycle and my yoga mat. Not only can these clips be repositioned anywhere along the strips, they can be screwed straight through to the wall if extra strength is desired. As the old cliche goes, the possibilities are endless. |
In the lower left corner of that photo above, you can see a portion of the bicycle shim. Here's a closer look.
 |
| The two tiny rear wheels that stabilize the bike in its folded configuration, and the tire at photo right all have to touch in order for it to remain stable in its pitched-forward, closet-door-must-close configuration. I made this shim out of scrap quarter inch and half-inch plywood and a piece of two-by-four. It's difficult to see in this photo, but it does support and stabilize the bike when it is positioned this way. |
And now for the money shot.
 |
| There she is, Miss America. |
Another project successfully completed.
 |
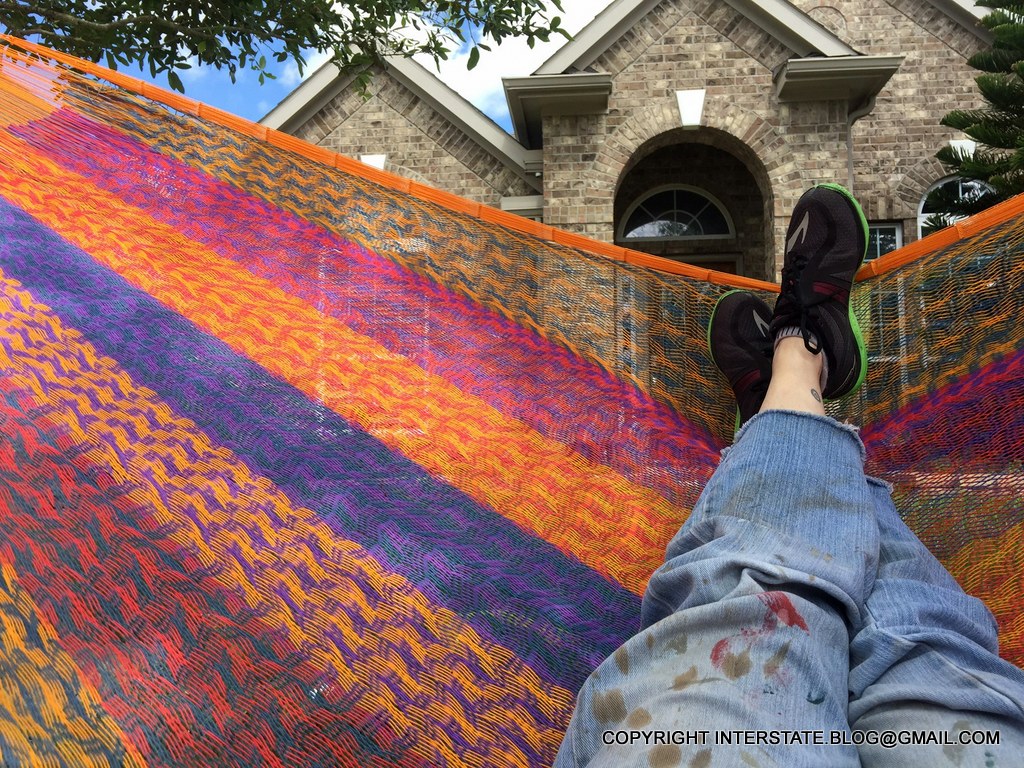
| Time for your blogger to take a nap. Would you believe that I finally hung my Mayan hammock this weekend after waiting seven years for our front trees to grow large enough? We custom-built our house just as we are customizing our Interstate, and the builder put the typical live oak tiny saplings in the ground at the time. But now I finally have real trees!! |


No comments:
Post a Comment