DIY and Travel Adventures in an Airstream Interstate
Saturday, June 23, 2018
TRASH CANS FOR THE AIRSTREAM INTERSTATE
Our 2007 Airstream Interstate came without a dedicated trash can or even an obvious area in which to place a can, and I've been struggling for a couple of years now to figure out the best arrangement for this function.
One of these, and I don't care which term is used.
Here is one of my earlier less-than-ideal early solutions.
Container Store usually has good stuff, and this was useful, but it had its drawbacks. Even after I moved it to the wet bath and kept the door shut, flies still got into it.
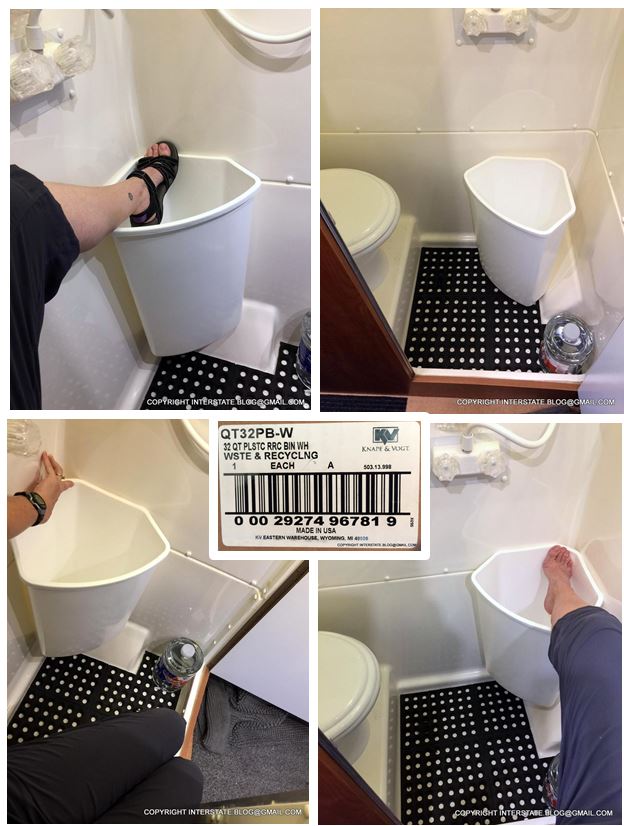
I moved on to an attempt to adapt this triangular beauty to the space. We need a lot of trash storage volume because we boondock, and if we go through a rainy period, we can't burn anything. The trash can pile up in the van for a few days, ugh. So that's why I began looking at adapting this as a possible addition to the wet bath.
It's a plastic insert for a stick-and-brick recycling center. It's rather large, yes it is.
But then I got Shanghai'd by a different idea that I had several years ago but never developed. I had purchased this Oscar the Grouch Sesame Street soft-sided (collapsible but stiff enough to stand up on its own) trash can which was round with a heavy wire rim. I bent the rim into the triangular shape that I really wanted to see here. And then I fitted a triangular lid that I cut out of coroplast and edged in nylon belt webbing (tough to sew, but do-able). I used tabs of waist elastic band to make "hinges" on the far edge of the can.
It's cute - admit it.
Video of the operation:
Well, that was smaller than I wished for a trash can to be, but it did have that all-important fly-deterring lid, and the cuteness factor got to me.
"Meet your new bus mate!" That's an Oscar bean bag toy.
Simultaneously, for more trash storage space, I added this product behind the commode:
I got it at West Marine.
In order to add this in a way that was responsive to the fact that I change my mind every five minutes regarding where I want items to be placed, I had to build a bracket for it, so that I could mount it without piercing the wet bath wall.
It came with this white mounting piece, but I wanted to attach it with outdoor Velcro and so I had to expand the surface area. I made this out of thin plywood...
...and countersunk the mini-bolts that hold on the OEM bracket, love it. I was reaping the rewards of having reorganized much of our hardware over the past few weeks. I actually found this stainless hardware without having to scrounge.
See, the lip of the top cover extends over the body of the can, so I could not simply Velcro the can body to the wet bath wall. I had to build this out.
Here's the result of this little satellite trash can.
We plan to travel with a young lady who is a dear friend of the family this summer, so this familiar women's restroom type of stall receptacle might be appreciated.
So there's Trash v. 2.0 and we'll see how it goes with these improvements. I still don't know if this is enough storage space for our needs, but it's better than what I had rigged previously.
Tugging at the heart strings of DIYers everywhere.


No comments:
Post a Comment