It's the principle of the thing. Money is not trash. Money should not be landfilled. It's not a matter of guilt-tripping or
green-shaming, as in,
"Shame on you, neighborhood, for going to all the trouble to segregate and recycle cardboard cereal boxes but then you haul countless tons of wood to the dump." I see no merit in those approaches because they are not required. This is simple common sense.
 |
| Some people see construction waste generated during replacement of a subdivision perimeter fence. I see opportunity. |
I always take pictures of waste heaps before I pick them. That way, if anyone accuses me of stealing, I can show them the pictures confirming that the materials I took were discards, not part of the construction stock. In all my years of trash picking, nobody has ever accused me of stealing, though.
The opportunity in that waste heap shown above was the opportunity to finally upgrade these.
 |
| This is an absurd Valterra stacker configuration, but I need maximum height while we are working on our Interstate in our driveway. I stack our Interstate because I hate feeling like one of my legs is longer than the other, as is the case when it's parked on the driveway pitch, un-leveled. So I stretch these stackers to maximum height. But it's a P.I.T.A. to break out all those little pieces and assemble this configuration every single time I park. So I needed a dedicated set of ramps to keep in our garage, such that the stackers could remain in the Interstate. |
My design was dictated by our relative lack of woodworking capacity. We have plenty of metalworking equipment, such as everything we used to fabricate
our custom hitch carrier. Not so much for wood.
 |
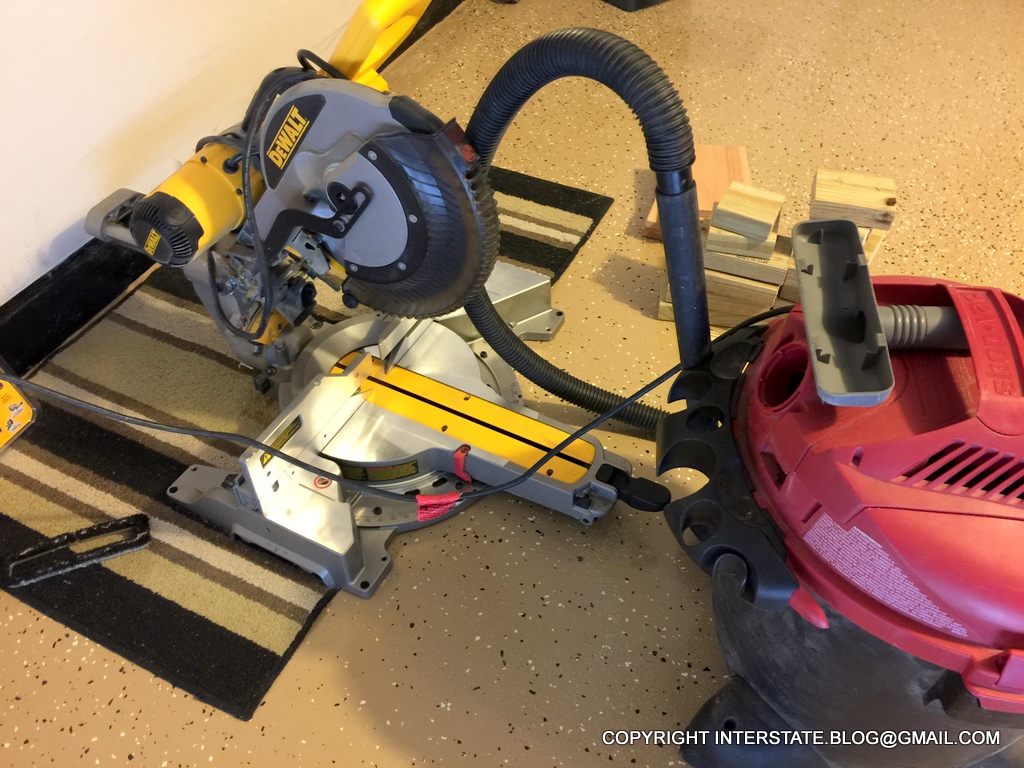
| Just this one miter saw. We don't even have anything to put it on, so I assume yoga leg postures whilst sitting on the floor in front of it. |
Here's what our chosen configuration looked like (I say "our" because my husband had input on the design).
 |
There are many different ways to accomplish this, but here are my main measurements, remembering that ours is a Sprinter 2500, not a 3500, so we do not have to account for dual rear wheels:
Bottom pieces: 29" long
Middle pieces: All six are 10.75" inches long, with three turned perpendicular to provide structural integrity.
Top pieces: 19" long
Wheel stop: 10.75" across.
After I got done cutting lengths, I made the slope cuts by turning the miter saw to its maximum angle, which was approximately 50 degrees.
|
The lengths as stated leave about 3.25 inches (give or take) setback on each row. This makes for a fairly shallow grade which really helps with the ease of driving aboard these contraptions, but let me not get ahead of myself.
 |
| Here's a tip: Rather than relying solely on measurements, I find that it's a lot less fatiguing to the brain to simply eyeball where possible. So in creating the second ramp, I measured my cuts but then did final adjustments by simply comparing to the first unit. |
 |
| These are the screws I used. They are coated, which made them very easy to use. They went into the wood with a minimum of pre-drilling (we also don't have a hammer drill at this point). |
 |
| The not-quite-finished products. The two-by-fours are still very wet, so I cannot paint them yet. I will paint them so that they look a little less hillbilly. Our subdivision is not really the kind where one sees a lot of vehicles on ramps, so it's best to make these as nice looking as possible. |
 |
| Moment of truth. Notice I ran a carry rope through the gap. |
Money shot.
 |
| With these, the Interstate is now almost perfectly level in our driveway. |
So I diverted some virgin lumber from the landfill and probably saved us forty or fifty bucks over the cost of a commercial alternative, such as
these Rhino ramps. More importantly, I built some additional skill and exercised some of the gray matter in my aging cranium. To my recollection, this was my first woodworking project. I may have chopped a board here or there, but historically that kind of work has all been done by my husband. He never touched the saw on this one. And now I'm better prepared for our next project.
 |
| Didn't spend anything on this camping support project. Which is good, because we need the investment elsewhere, like on our upcoming lithium conversion, which is still in progress. |


do find the less than 6" height sufficient or do you wish it were four levels?
ReplyDeleteI would prefer four levels, but my desire for added height is not strong enough to make a change. Readers need to be mindful of the potential for these things to interfere with an anti-lock braking systems (ABS). When I wrote this post, I was doing drive on / back off ramping only. We later trimmed our exhaust pipe shield (which became side-mounted during the Class B conversion, rather than rear-mounted) to allow us to also do back on / drive off ramping. Well, driving off ramps can trigger the ABS into thinking that the vehicle is in an uncontrolled skid. The higher the ramp, the more pronounced the response the vehicle might issue. The result is diminished on-demand braking during the dismount. For that reason, I decided to stick with shallower ramps, which allow for better control.
ReplyDelete